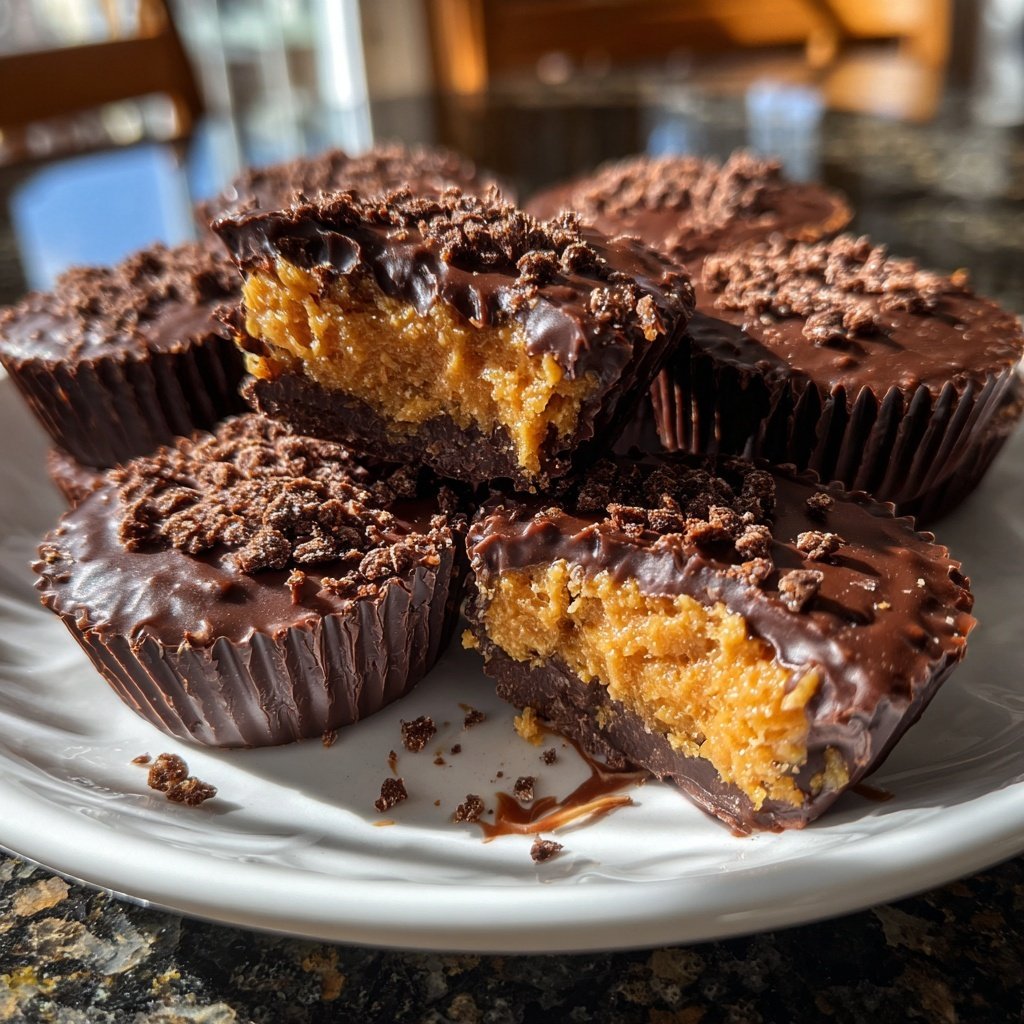
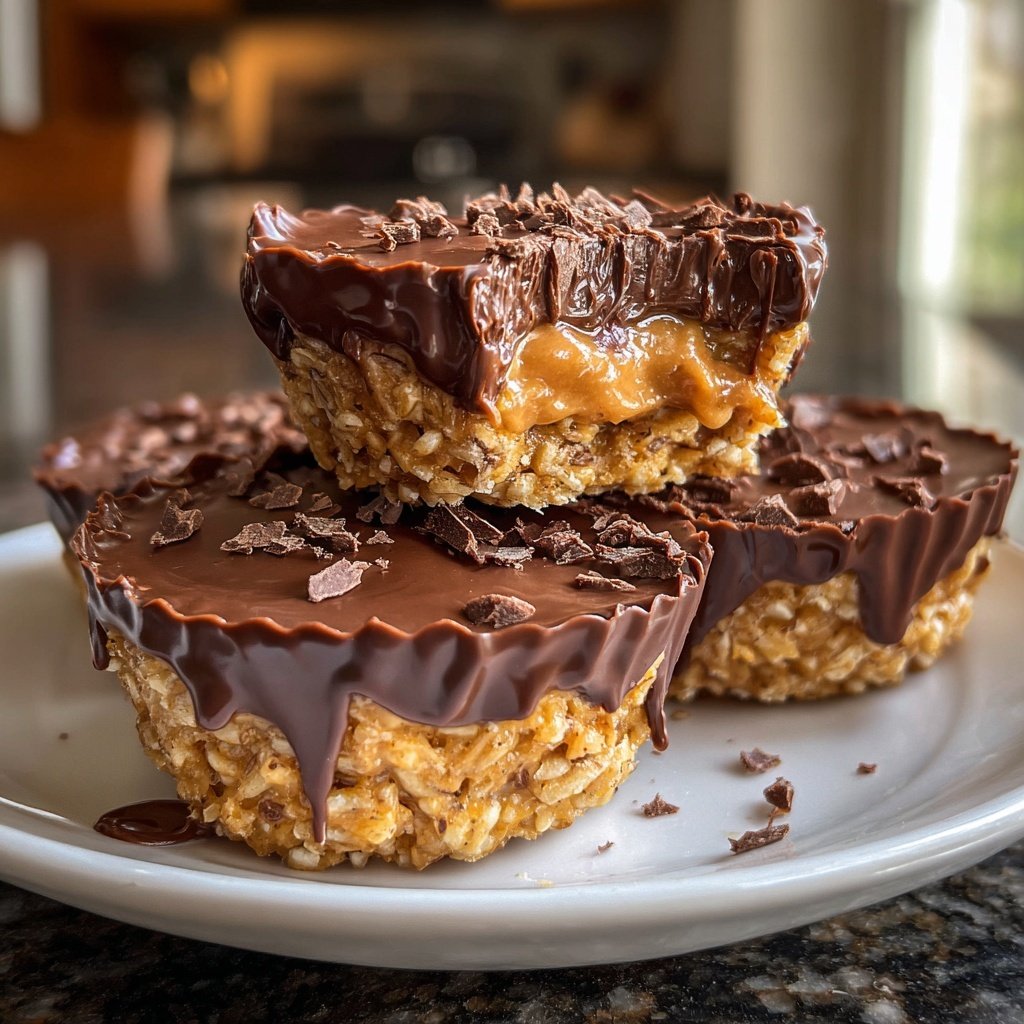
Homemade Reese’s Cups with Crispy Rice
Highlighted under: Favorite Baking Collection
I absolutely love making homemade treats, and these Reese’s Cups with crispy rice are a personal favorite of mine. The combination of creamy peanut butter and rich chocolate, along with the delightful crunch from the rice cereal, creates a dessert that's truly irresistible. Not only are they fun to make, but they also bring back wonderful childhood memories. Every bite is a blend of nostalgia and satisfaction that my friends and family adore. Trust me, once you try making these at home, you'll find it hard to go back to the store-bought version.
One day, I decided to elevate the beloved classic Reese's peanut butter cup by adding crispy rice, and I have never looked back. The light crunch complements the creamy peanut butter perfectly, creating a wonderful texture that keeps you coming back for more. I experimented several times to find the right balance between chocolate coating and crispy interior, and I think I've finally mastered it!
During the process, I discovered that melting the chocolate slowly over a double boiler results in a silky smooth coating that hardens beautifully. If you're like me and can't resist a bit of extra chocolate, sprinkle some sea salt over the tops right before it sets for a delightful savory twist. I can't wait for you to try it!
Why You'll Love This Recipe
- Rich chocolate flavor paired with creamy peanut butter
- Perfect crunch from the crispy rice
- A fun and rewarding treat to share with friends and family
- Easily customizable with different chocolates or fillings
Understanding the Ingredients
The star of this recipe is undeniably the creamy peanut butter. Opt for a natural peanut butter without added sugars or hydrogenated oils for a healthier option. This will not only make the filling more authentic but also ensure a satisfying texture. The powdered sugar is essential as it helps sweeten the mixture while giving it a thick, moldable consistency. If you prefer a less sweet version, feel free to reduce the sugar, but keep in mind that the balance of flavors is key to replicating that classic Reese's taste.
The rice cereal introduces a delightful crunch and is crucial for achieving that signature texture. If you wish to make this treat gluten-free, choose a certified gluten-free rice cereal. Additionally, consider experimenting with different types of nut butters, such as almond or cashew, to create your custom flavor profile.
Perfecting Your Chocolate Coating
When melting the chocolate chips, using a double boiler is an excellent way to avoid burning the chocolate. If you don't have a double boiler, simply set a heatproof bowl over a pot of gently simmering water. Stir gently and keep the heat low to achieve a glossy smooth chocolate. The optional addition of coconut oil enhances the fluidity of the chocolate, ensuring an even coating and a beautiful shine. If you’re looking for a richer chocolate experience, consider using dark chocolate chips or a mix of milk and dark chocolate.
To achieve perfectly sealed Reese’s Cups, make sure to pour enough chocolate to cover the sides and bottom of the fillings completely. If you find that your chocolate tends to seize or harden too quickly, you can reheat it gently with additional coconut oil, returning it to the desired pouring consistency. Timing is also critical when placing the cups in the fridge; monitor them so they don't over-chill and become too hard to work with.
Ingredients
For the Peanut Butter Filling
- 1 cup creamy peanut butter
- 1/2 cup powdered sugar
- 1/4 cup rice cereal
For the Chocolate Coating
- 1 1/2 cups milk chocolate chips
- 1 tablespoon coconut oil (optional, for smoothness)
Make sure to gather all your ingredients before starting for a smoother experience!
Instructions
Prepare the Creamy Filling
In a medium bowl, mix together the creamy peanut butter, powdered sugar, and rice cereal until well combined. The mixture should be thick but moldable.
Melt the Chocolate
In a double boiler, melt the chocolate chips and coconut oil over low heat, stirring frequently until smooth. Remove from heat.
Form the Cups
Line a muffin tin with cupcake liners. Pour a small amount of melted chocolate into the bottom of each liner, spreading it evenly. Refrigerate for about 10 minutes to set.
Add the Filling
Once the chocolate has set, take the muffin tin out of the fridge. Add a generous spoonful of the peanut butter mixture on top of the chocolate in each cup, pressing lightly to flatten.
Top with More Chocolate
Cover the peanut butter filling with more melted chocolate, making sure the filling is completely sealed. Return the muffin tin to the fridge for another 10 minutes to harden.
Serve and Enjoy
Once the chocolate has fully set, carefully peel the cups from the liners. Enjoy your homemade Reese’s Cups with crispy rice right away, or store them in an airtight container in the fridge!
Enjoy your delicious creation!
Pro Tips
- For an extra twist, try using dark chocolate instead of milk chocolate for a more intense flavor.
Make-Ahead and Storage Tips
These homemade Reese’s Cups can be made ahead of time, making them perfect for parties or sweet cravings during the week. Once they have cooled and set, store them in an airtight container in the refrigerator for up to two weeks. You can also freeze them for longer storage; simply layer parchment paper between the cups to prevent sticking, and keep them in a freezer-safe container for up to three months. Let them thaw at room temperature for a few minutes before enjoying.
If you're planning to make a larger batch, consider doubling the ingredients for both the peanut butter filling and chocolate coating. This way, you’ll have enough to satisfy everyone's sweet tooth, and the assembly process remains essentially the same. Just make sure you have enough space in your fridge for setting multiple trays of cups!
Customizing Your Treats
Feel free to get creative with the fillings! Besides the traditional peanut butter, you can experiment with flavored nut butters like chocolate hazelnut or even a sweetened cream cheese mixture for a different taste. If you want an extra treat inside your cups, try adding mini marshmallows or chopped nuts for added texture and flavor.
For a fun visual twist, consider using colored chocolate melts for the outer coating. This can make your treats a festive addition to celebrations or themed parties. Just remember to adjust the chocolate melting method to the specific types of chocolate being used, as some may require lower temperatures to prevent burning.
Questions About Recipes
→ Can I use a different type of nut butter?
Yes! Almond butter or cashew butter can be a great alternative if you're looking for a different flavor.
→ How do I store the Reese’s Cups?
Store them in an airtight container in the refrigerator for up to two weeks. They can also be frozen for longer storage.
→ Can I use crunchy peanut butter?
Absolutely! Crunchy peanut butter will add more texture to your cups, enhancing the overall crunch.
→ Is there a vegan option available?
Yes! Switch to dairy-free chocolate and a vegan nut butter, and you will have a delicious vegan version!
Homemade Reese’s Cups with Crispy Rice
Created by: Juliet Ashford
Recipe Type: Favorite Baking Collection
Skill Level: Intermediate
Final Quantity: 12 cups
What You'll Need
For the Peanut Butter Filling
- 1 cup creamy peanut butter
- 1/2 cup powdered sugar
- 1/4 cup rice cereal
For the Chocolate Coating
- 1 1/2 cups milk chocolate chips
- 1 tablespoon coconut oil (optional, for smoothness)
How-To Steps
In a medium bowl, mix together the creamy peanut butter, powdered sugar, and rice cereal until well combined. The mixture should be thick but moldable.
In a double boiler, melt the chocolate chips and coconut oil over low heat, stirring frequently until smooth. Remove from heat.
Line a muffin tin with cupcake liners. Pour a small amount of melted chocolate into the bottom of each liner, spreading it evenly. Refrigerate for about 10 minutes to set.
Once the chocolate has set, take the muffin tin out of the fridge. Add a generous spoonful of the peanut butter mixture on top of the chocolate in each cup, pressing lightly to flatten.
Cover the peanut butter filling with more melted chocolate, making sure the filling is completely sealed. Return the muffin tin to the fridge for another 10 minutes to harden.
Once the chocolate has fully set, carefully peel the cups from the liners. Enjoy your homemade Reese’s Cups with crispy rice right away, or store them in an airtight container in the fridge!
Extra Tips
- For an extra twist, try using dark chocolate instead of milk chocolate for a more intense flavor.
Nutritional Breakdown (Per Serving)
- Calories: 250 kcal
- Total Fat: 18g
- Saturated Fat: 8g
- Cholesterol: 0mg
- Sodium: 55mg
- Total Carbohydrates: 22g
- Dietary Fiber: 1g
- Sugars: 18g
- Protein: 6g